The H1 hummer an originally designed strictly for military use gained popularity amongst the late 90s and early 2000s. These vehicles are big, rugged and overall a challenge to work on. One of our good clients acquired one that had seen better days & really needed our attention. This client gave us free range and ability to do whatever we thought would bring this to an acceptable level. Initially we thought it was just normal wear & tear we found out that wasn’t the case. This was the vehicle’s condition upon inspection.
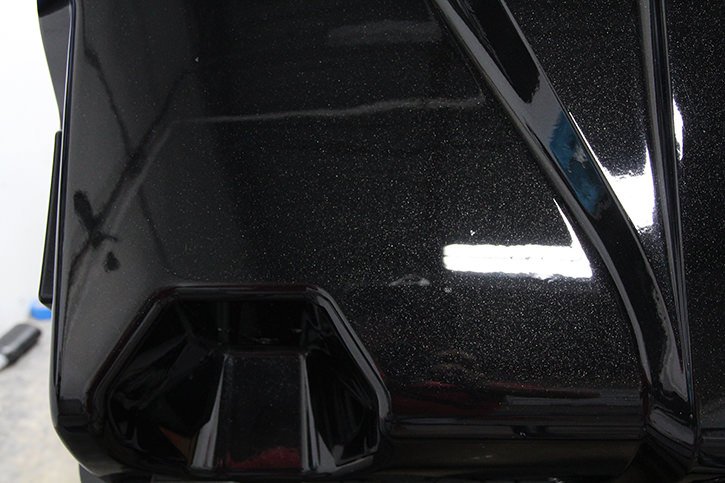
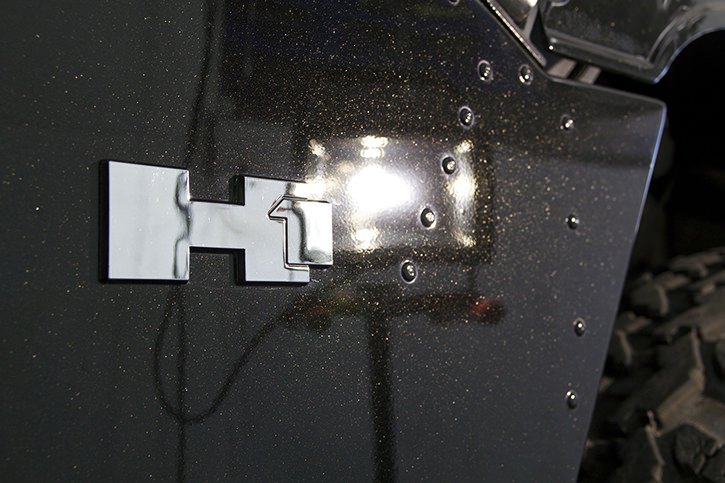
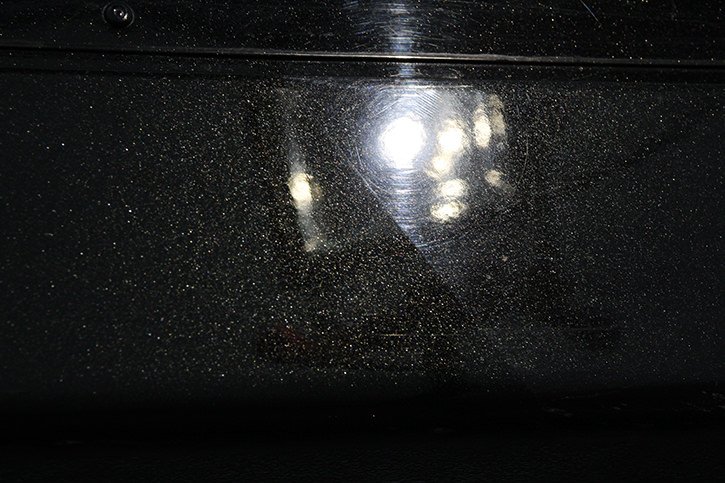
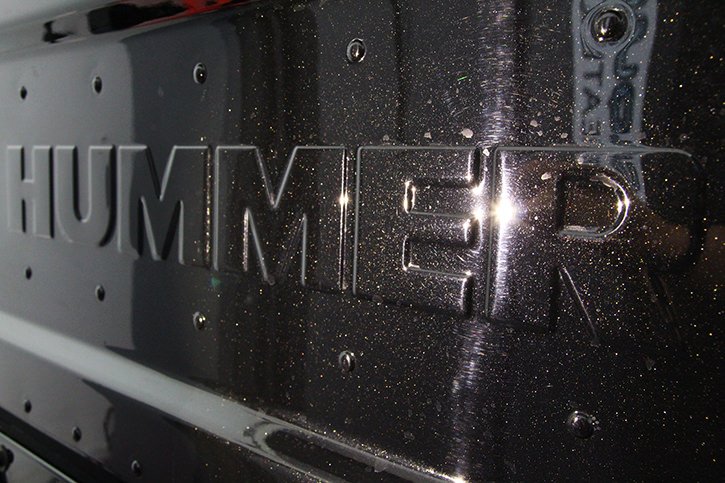
Sun Shots revealed the true condition. Which was not limited to just normal washing scratches.
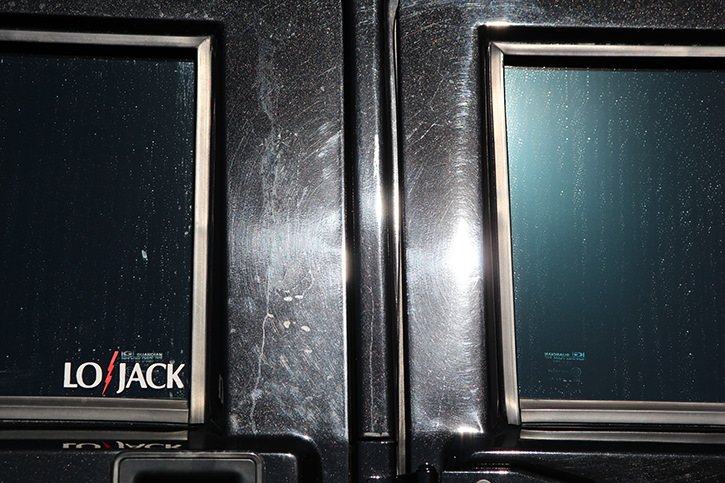
As see the paint was damaged pretty severely & lacked any color.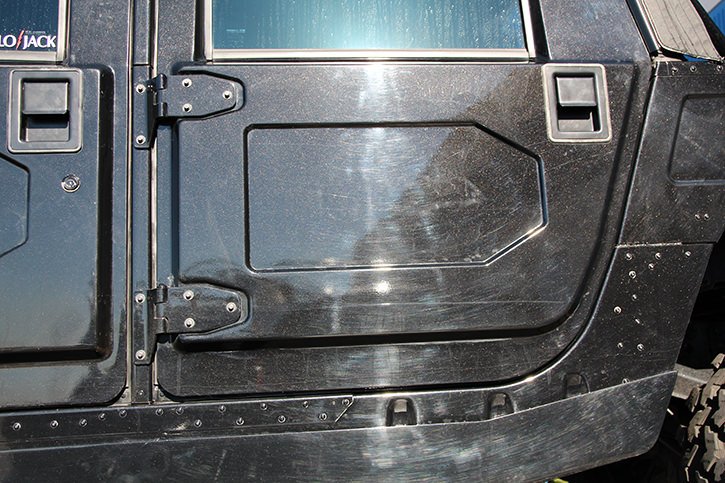
After a quick was we proceeded to pull it into the shop for more thorough inspection with our LED lighting.
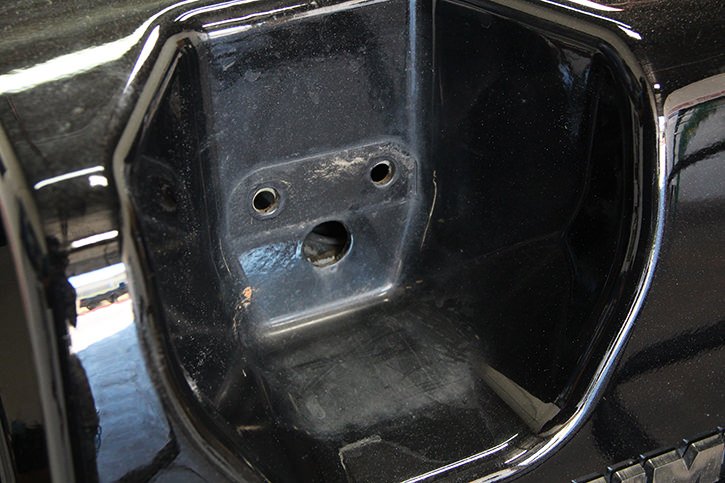
The condition of the hood. Before.
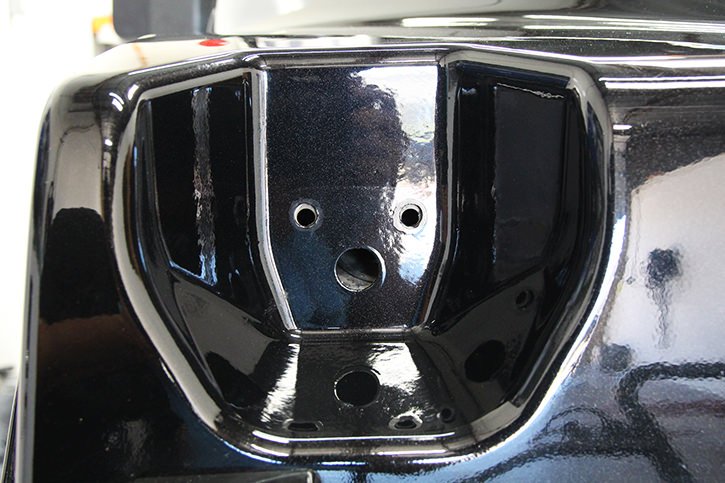
After.
After a thorough cleaning and some correction work.
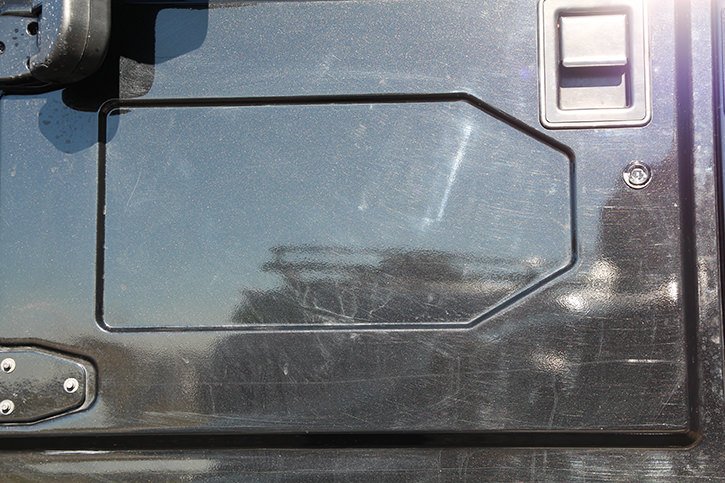
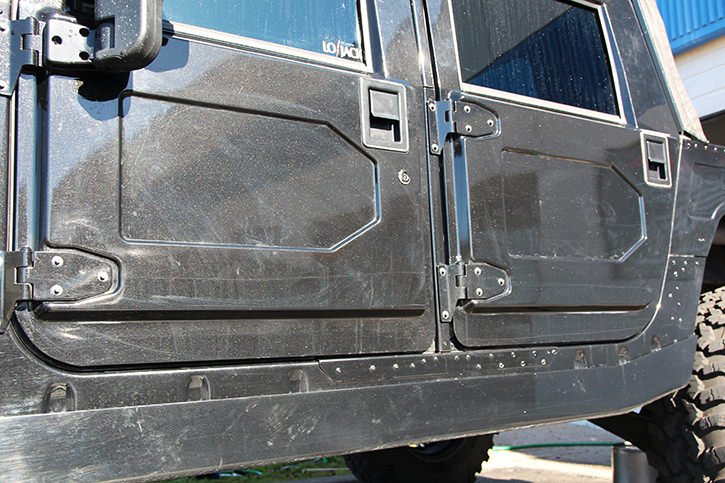
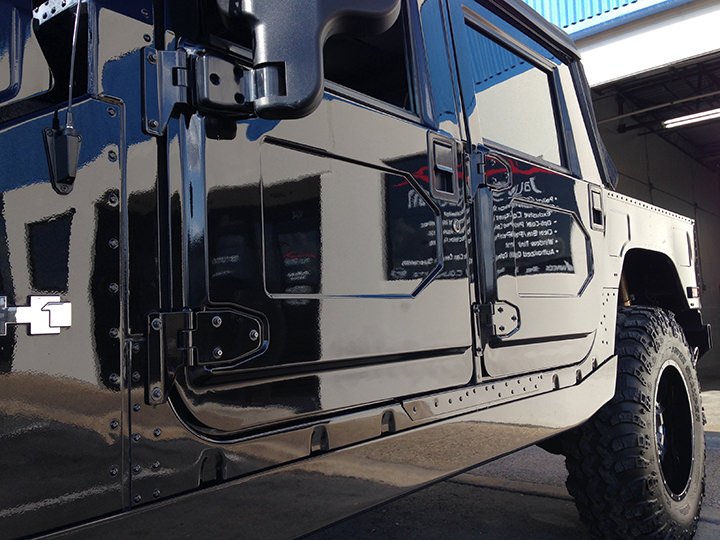
The doors had the same defects if not worse on this passenger side. The left side was corrected while the right shows the defects that were on the door before hand. Well complete this process on the entire vehicle. This ensures properly leveled surface before we apply one of our Ceramic Coatings to the paint. 
To read more about our paint correction process you can view our Paint Correction Page!
The lower portions of the doors receive the same treatment.
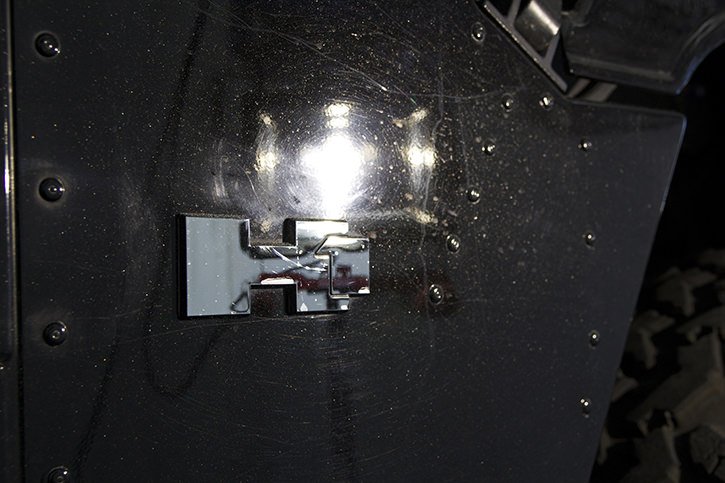
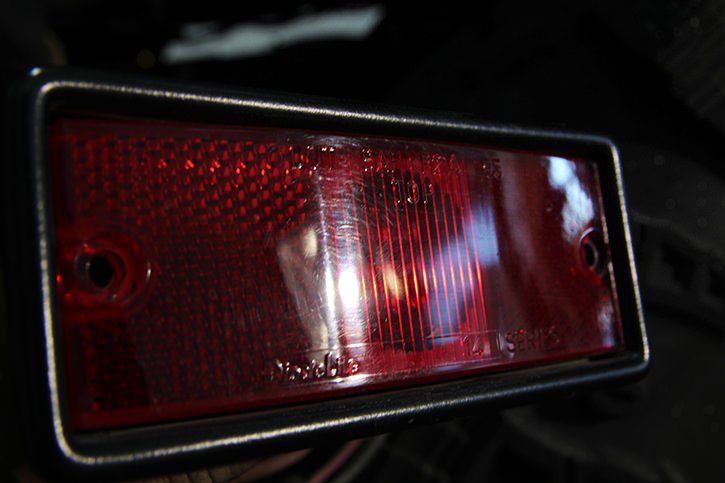
When we do corrections of any sort. We like to apply those polishing techniques to such items as head lights, tail lights, marker lights and so on. This is one of those things no one really notices but it makes a huge difference in the outcome of our corrections. Here is one of the side marker lights before.
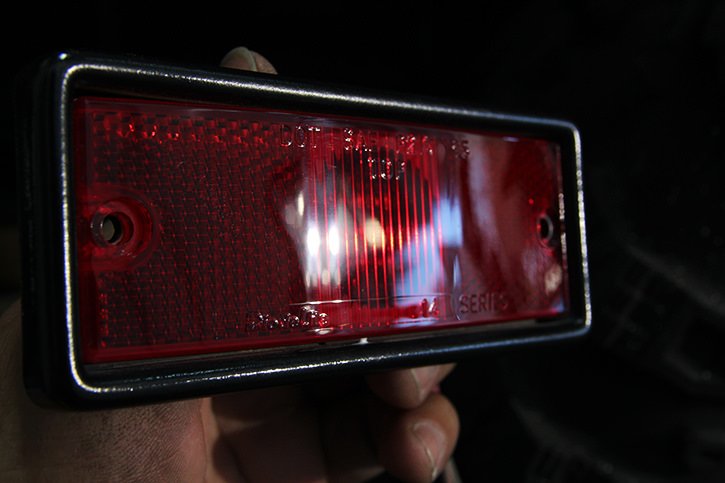
After being polished out.

Once finished with the correction process. We applied one of our Cquartz Ceramic Paint Coatings.
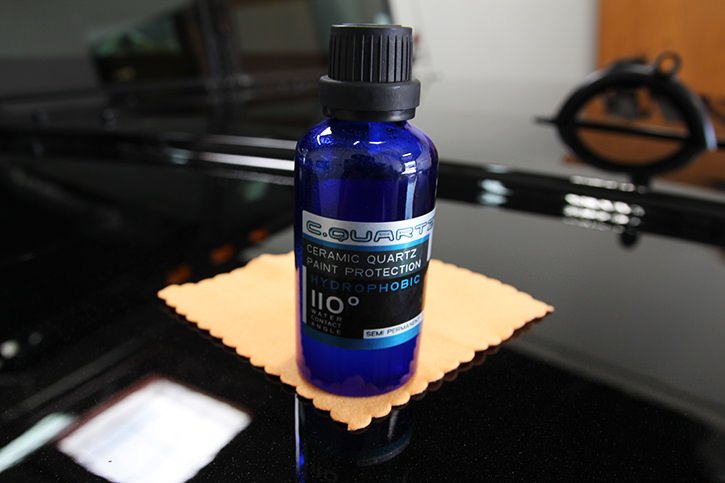
After applying the coating to the paint we moved our attention to the wheels where we polished the faces to a briliant shine to remove some waters pots, then we applied our CQuartz Dlux wheel coating to the exterior surface of the wheels.

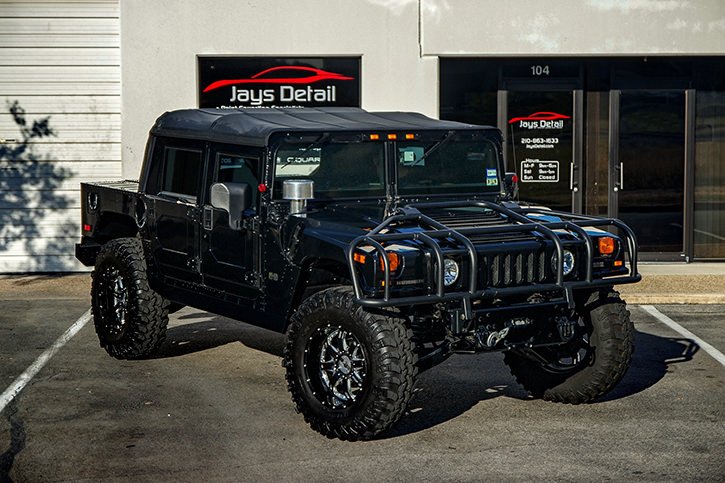
So after a total of roughly 20 hours of polishing, 6 hours of refinishing, 2 hours of coating & 6 hours of curing. This H1 is now ready for delivery. Keep in mind we started with a vehicle looking like this.
Then turned it into something like this. These types of jobs are typically not very cheap. They require a very high amount of skill, long hours & attention to detail! But the end result is nothing short of amazing!
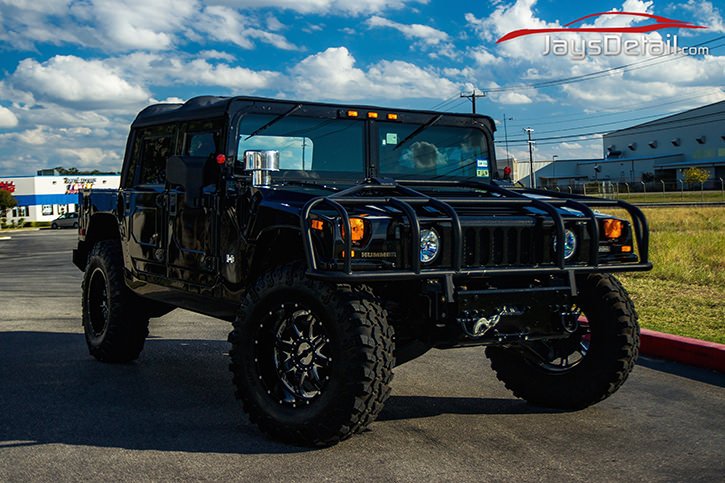
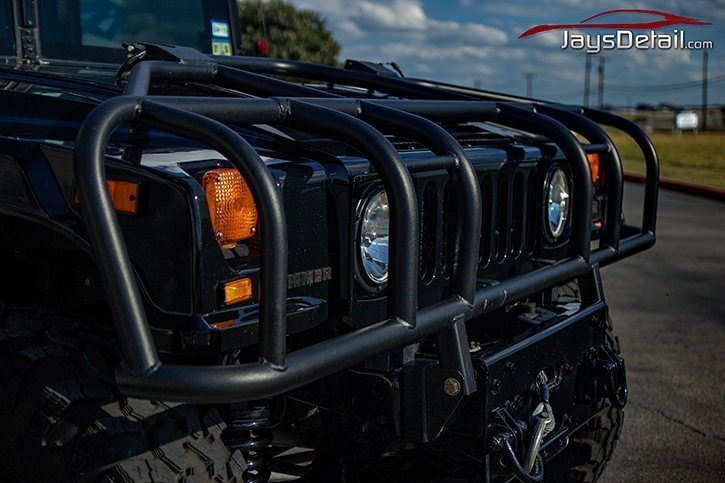
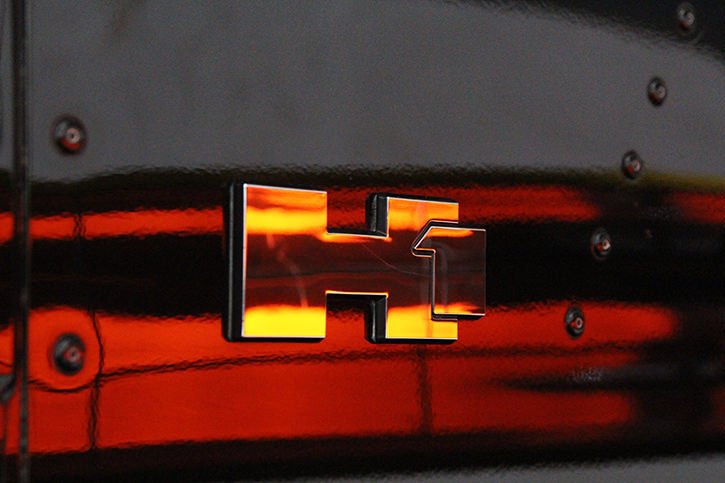
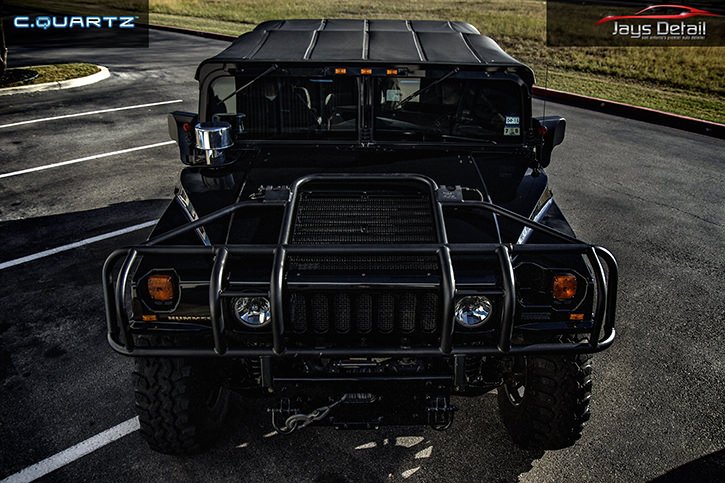
and the final shot of this Beast!
thank you for reading & as always we strive for the very best for our customers. If you have any questions about any of the services we offer you can visit our contact page and we can see what we can do for you!